
Contents:
Introduction
Download and Install DBDesigner 4
Using DBDesigner 4
Bug or What?
Saving the Database Connection
Reverse Engineer the Existing Database
Getting Familiar with Some of the DBDesigner Menus
Saving the Database Model
Using the SQL Query Editor
Executing SQL Statements/Scripts
Designing Database Model/Database Diagramming
Introduction
The DBDesigner is an open source visual database design tool that integrates database design, modeling, creation and maintenance into a single, seamless environment. It combines professional features and a clear and simple user interface to offer the most efficient way to handle databases. We can use DBDesigner to model a database, execute SQL query, create Entity Relationship Diagram (ERD), reverse engineer the databases and many more.
The latest version of DBDesigner is comparable to products like Oracle's Designer ©, IBM's Rational Rose ©, Computer Associates's Erwin © and the Kompany's DataArchitect © but it is an Open Source tool that available for Microsoft Windows © 2k/XP and Linux KDE/Gnome.
In this part we will try to install and use DBDesigner on Windows XP Pro SP2+ and get familiar with it. The database used is MySQL 5.x.x and in another tutorial we will use it to analyze a database at design stage.
The following list is the machine specifications used to install DBDesigner in this tutorial:
- Intel Pentium Core 2 Duo, 2.2 GHz,
- Windows XP Pro SP2 + periodical patches + periodical updates.
- 2 GB DDR2 RAM
- 160 GB SATA HDD
- 17” SyncMaster 713N monitor.
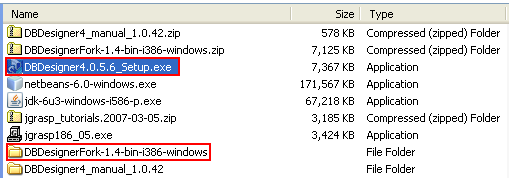
- Any MySQL database samples.Download and Install DBDesigner 4First of all, go to fabforce.net to download the latest version of DBDesigner for Windows. The self-extracting Windows exe fileDBDesigner4.05.6_Setup.exe) is shown in the following Windows explorer snap shot. Double click the file.
 Choose the language that suit to yours. Click Next.
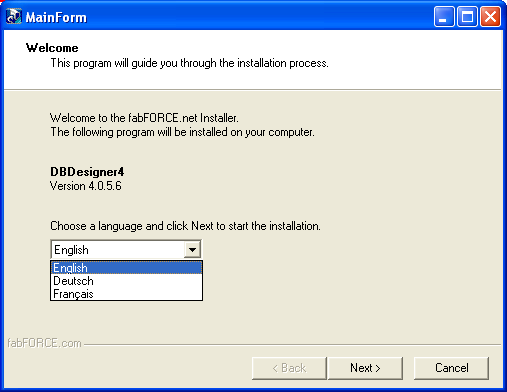
Accept the GNU general public license and click Next.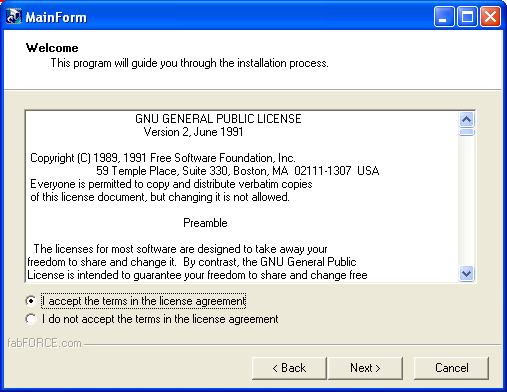 Set the installation folder. In this case we just accept the given default installation path. Click Next.
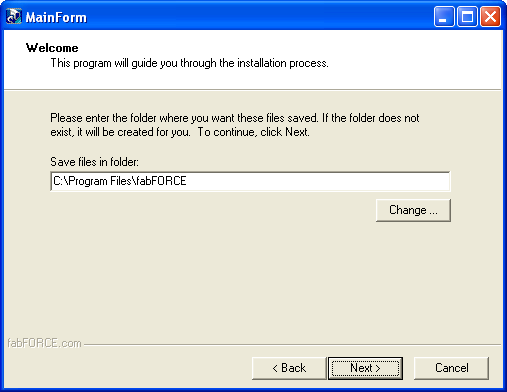 Select the component that you want to install. We select all components here and click Next.
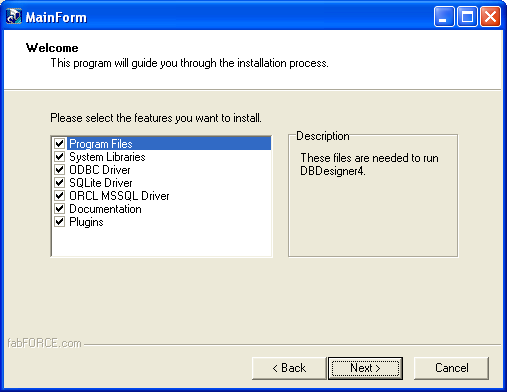 Select the shortcuts and click Next.
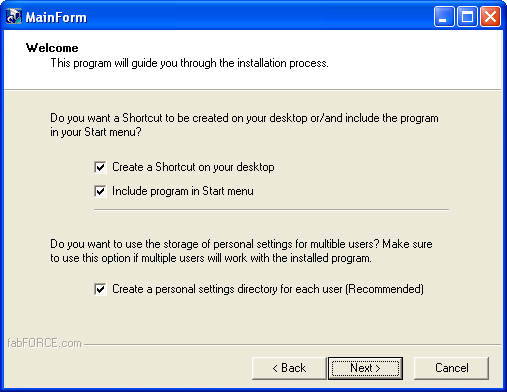 The installation wizard is ready to install. If you want to change anything just hit the Back else hit the Next.
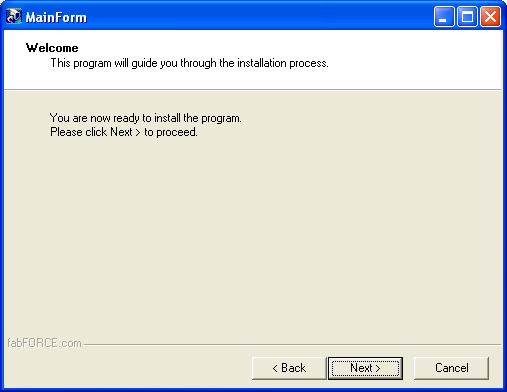 The DBDesigner installation begins.
 The DBDesigner installation completed successfully. Click Finish.
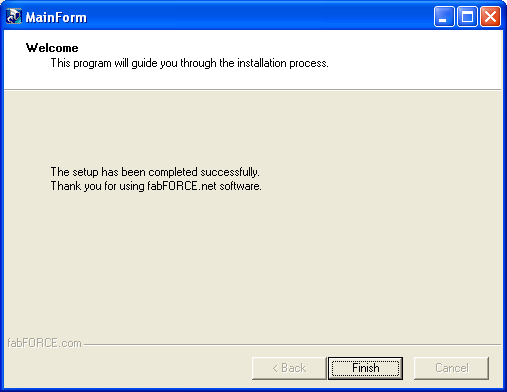 The following Figure shows the short cut added to Windows Start menu and the desktop. Click the DBDesigner or the short cut icon on the desktop.
 Using DBDesigner 4The following shows the DBDesigner GUI interface.
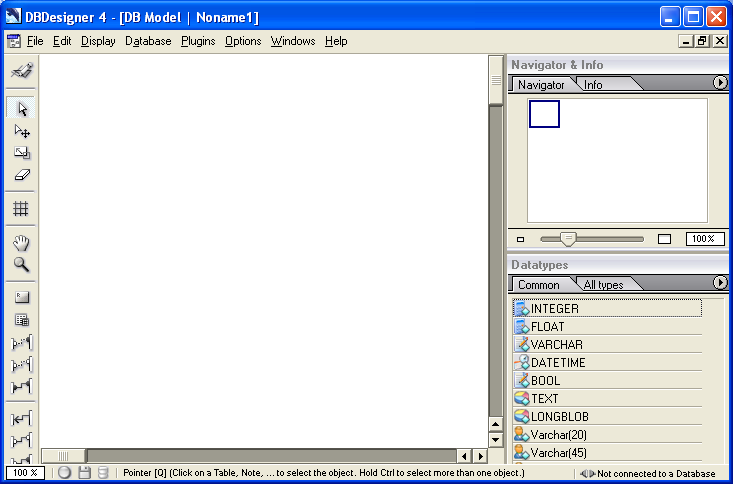 In the following tasks we would like to open a MySQL database sample and getting familiar with DBDesigner. Click File > select Open from Database sub menu.
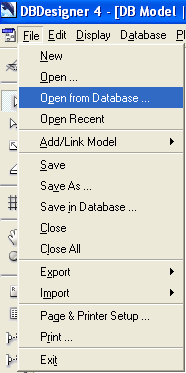 In the Select Database Connection windows, expand MySQL node > select the Localhost node.
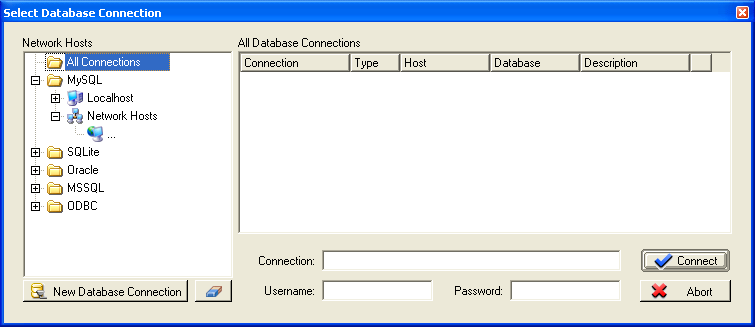 Fill in the MySQL user name and its password. In this case we are using root user. Click Connect.
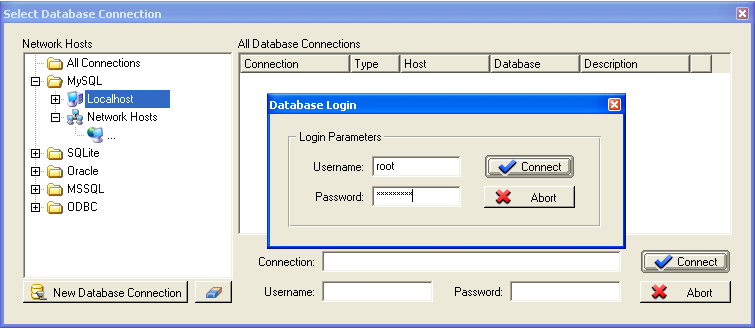 Bug or What?Well, for the first time using the DBDesigner you may encounter the "dbExpress: Invalid Username/password" message. We don’t know what the ‘bug’ is.Searching the Internet, the solution is to reset the MySQL password using the following command. You can use similar or current MySQL password for user root in this case. The following example shows the MySQL root user. Change accordingly to other user and the host (here we use localhost). It is done through MySQL Command Line Client console.SET PASSWORD FOR 'root'@'localhost' = OLD_PASSWORD('your_old_root_password_or_same_password');
 If the previous step successful, all MySQL databases in the localhost will be listed as shown in the following Figure. Select a database sample available in your localhost machine and in this case we select the Waterbill database.
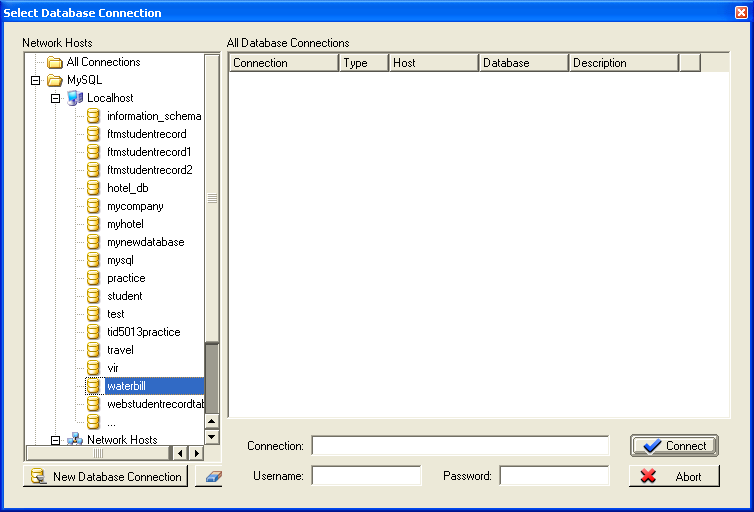 Saving the Database ConnectionTo save a connection for the specific database, click the New Database Connection button and fill in the information as shown in the following figure. Next time when we want to connect to Waterbill database, no need to fill in the credentials any more. Click OK.
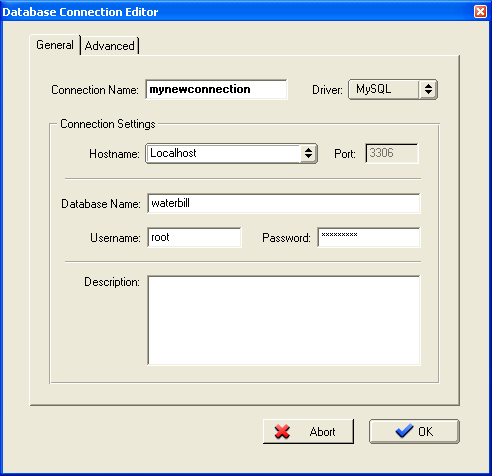 The following Figure shows the saved connection to Waterbill database. While the new saved Connection was selected, click the Connect button. (The Waterbill MySQL script can be found in ERD relational model notes).
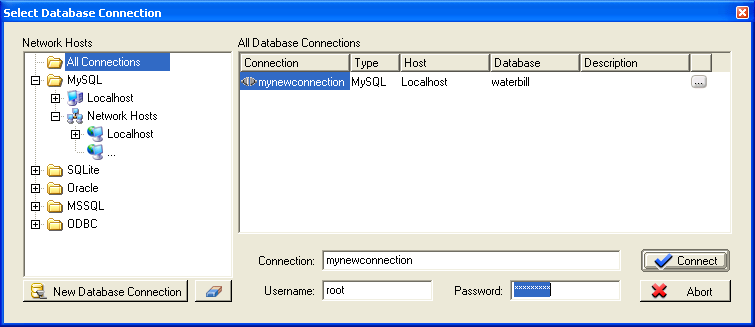 If there is no database model for the selected database, the list is empty as shown in the following Figure and the Load Model link is not useful. Just click the Close link.
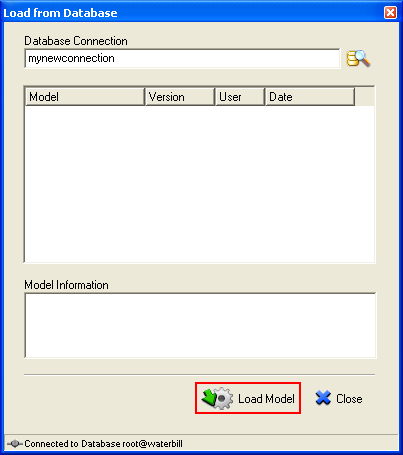 Reverse Engineer the Existing DatabaseThe Waterbill database doesn’t have a database model that normally used during the database design stage. However using DBDesigner, we can reverse engineer the existing database, to create a database model.To do this, click the Database menu > select Reverse Engineering sub menu.
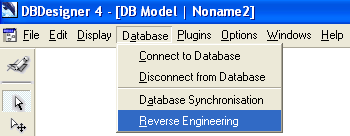 Select the previously saved connection > fill in the password for root user if needed > click Connect.In the Reverse Engineering window, select all tables under the Tables list. Select Build Relationships tick box and make sure Build Relations based on Primary Keys radio button is selected. Click Execute link.
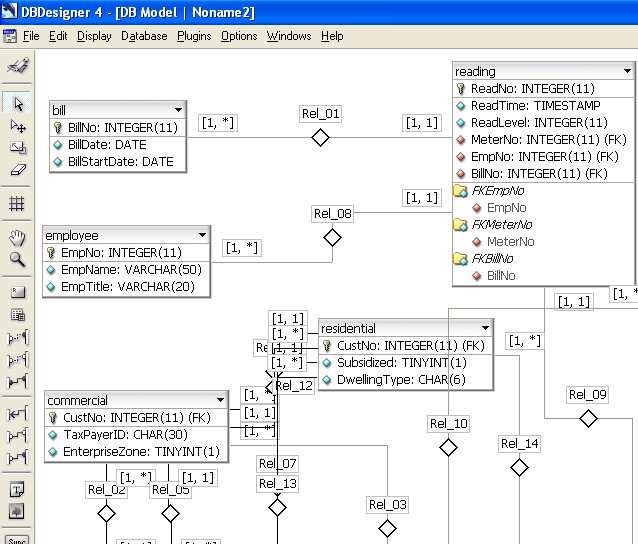
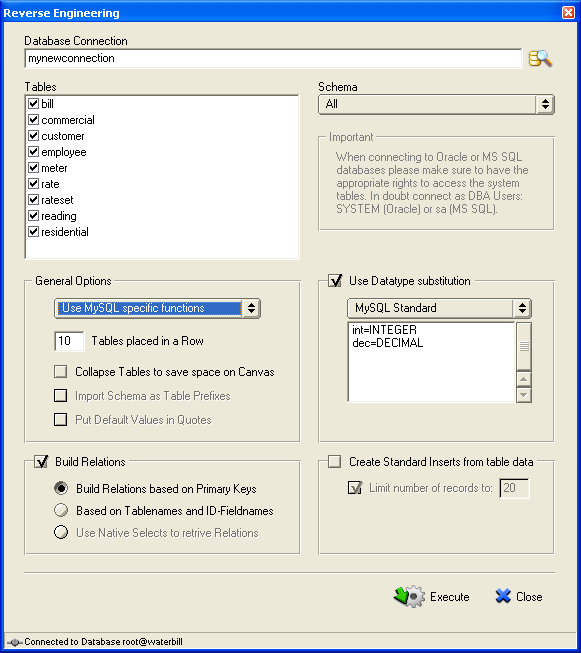 You may need to re-arrange all the tables by click-hold-drag-drop.
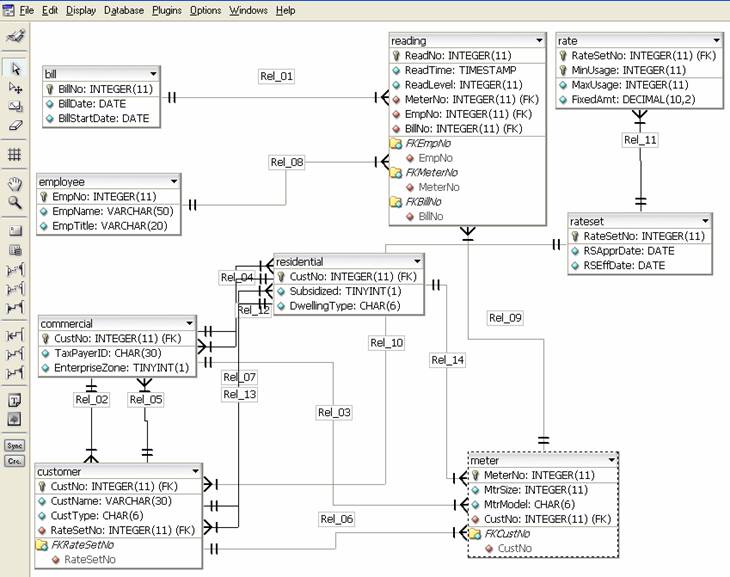 Getting Familiar with Some of the DBDesigner MenusNext, click the Display menu > select Notation > select EER[1,n]. In this case we change the Crow Foot notation to EER[1,n] (Enhanced Entity Relationship diagram).
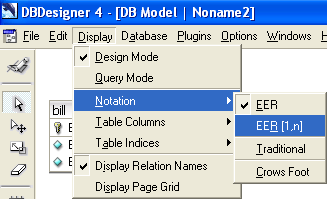
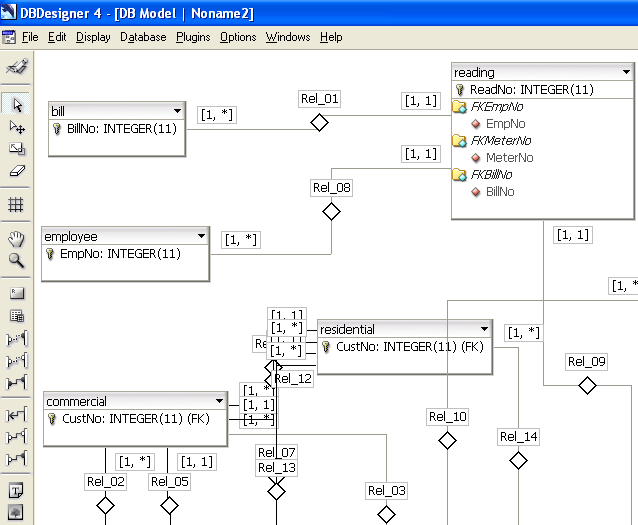
 Next, click the Display menu > select table Columns > select Primary Key Level. So we can display in several different view to assist our design. We can edit and save the model later. We found that a database that violates the basic standard design will generate errors during the reverse engineer process.
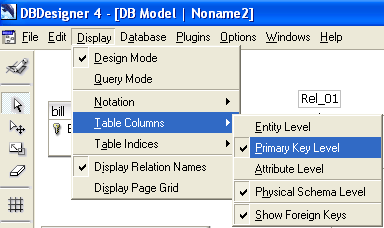
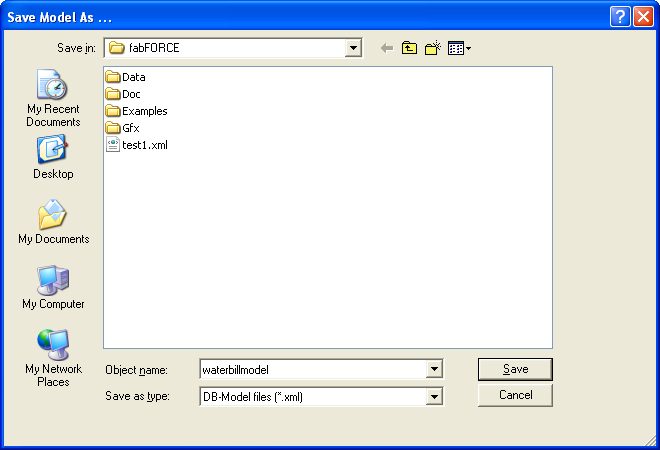
 Saving the Database ModelLet save this database model for future use and the saved file format is XML. Click File > select Save > choose the location > fill in the file name > click Save.
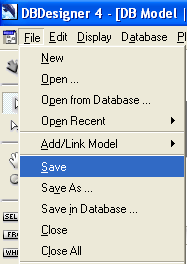
 Close all. Click File > Close All.
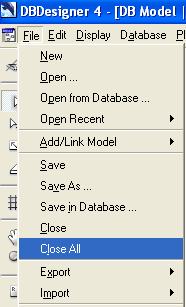 Next, let reverse engineer another database to create a database model. Follow the same steps as done previously. Firstly make a connection to a selected database. Click File > select Open from Database.
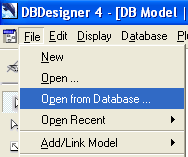 Select a database that we want to connect (and load a model if any). In this case we select crssystemdb database as an example (The crssystemdb database MySQL script can be found in analyzing database using DBDesigner). Click Connect.
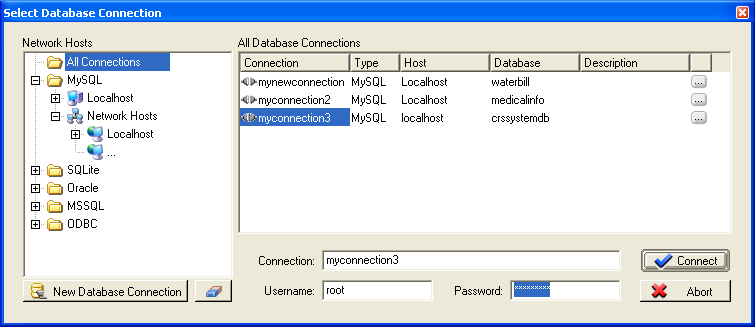 This database also doesn’t have a model, so click Close. We will reverse engineer this database.
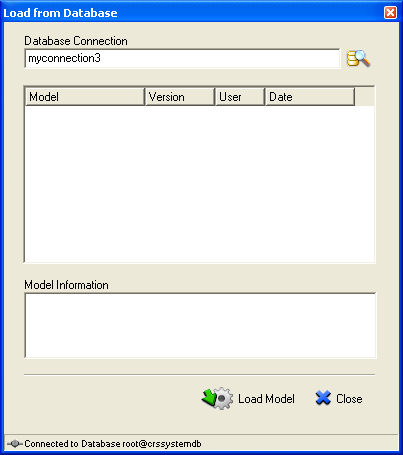 Notice that the connection to the database was established indicated by the message at the bottom-right most of the DBDesigner GUI.
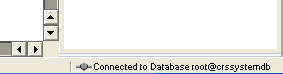 Next, reverse engineer the database. Click Database > select Reverse Engineering.
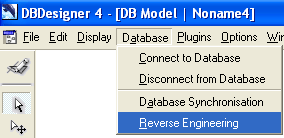 Select the database and click Connect. You can use any MySQL database that available in your machine. Make sure the database has a sample data in the tables.Make sure all the settings are similar to the following Figure. Click Execute.
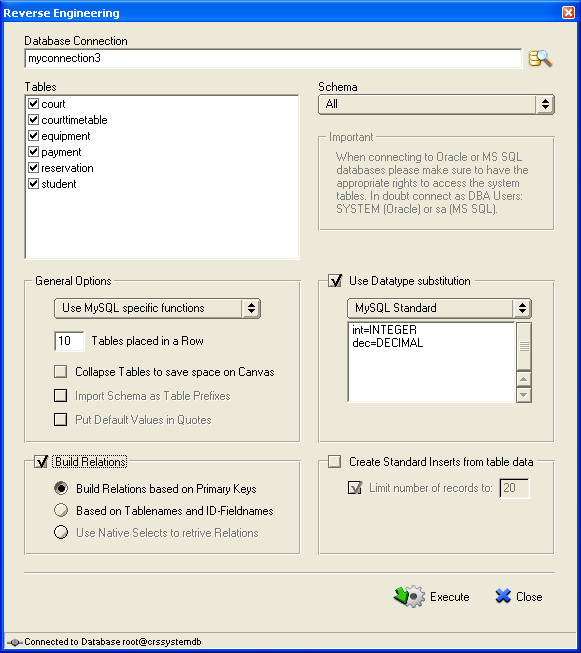 Re-arrange all the table model.
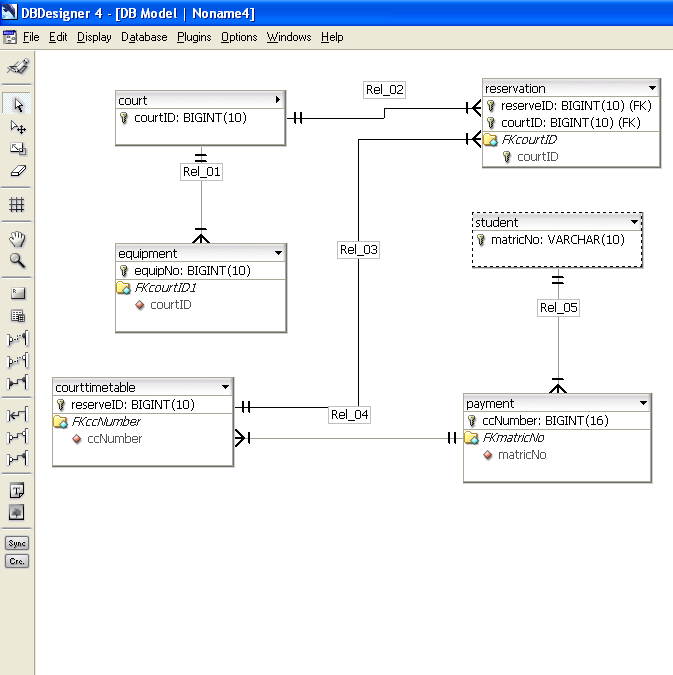 Using the SQL Query EditorNext, click Display > select Query Mode.
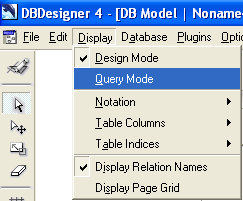 The query window opened at the bottom.--------------------------------------------------------------------------------------------------------------------------
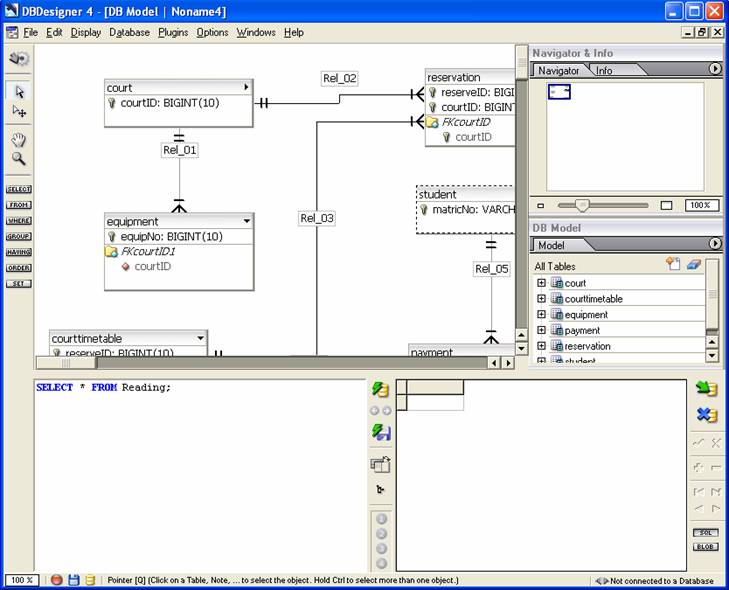 Executing SQL Statements/ScriptsLet try executing the following SQL statement.SELECT * FROM student;
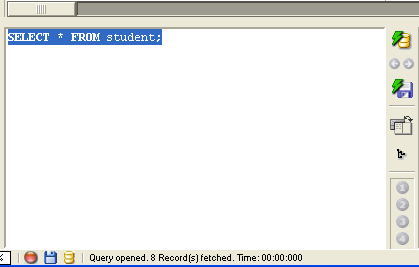 Click the Execute button (
 ). If the following database connection selection displayed, click Connect.The query result can be seen on the right window. You can try other SQL queries in this query mode such as update, insert and delete.
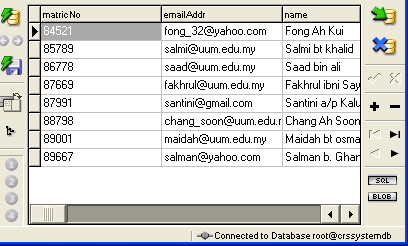 Designing Database Model/Database Diagramming – ERD etcTo design a new model, you can start to create a new project. Switch to Design Mode > File > New.
 Click the New Table icon and then click again on the design canvas.
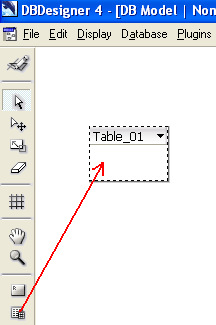 Select the table object > right click mouse > select Edit Object.
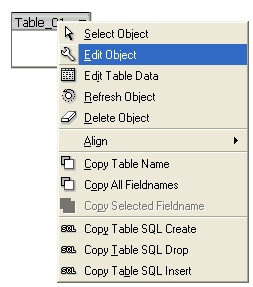 Fill in all the necessary information and click the tick on the right-bottom when finish.
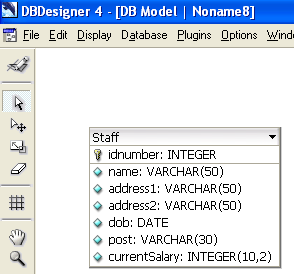 After finishing the database design, you can generate the SQL script for Create, Drop and Insert by using the following context menus (the last three context menus). The Edit Table Data only available if the table has data in it.Next, if you want to insert data into the Staff table, switch to Query Mode and execute SQL insert script as done previously. Repeat the same steps for other tables, add relationships etc. Well, many more can be done and all are left for you to explore. In the next tutorial, we will use DBDesigner to analyze a database used in a web application.


